
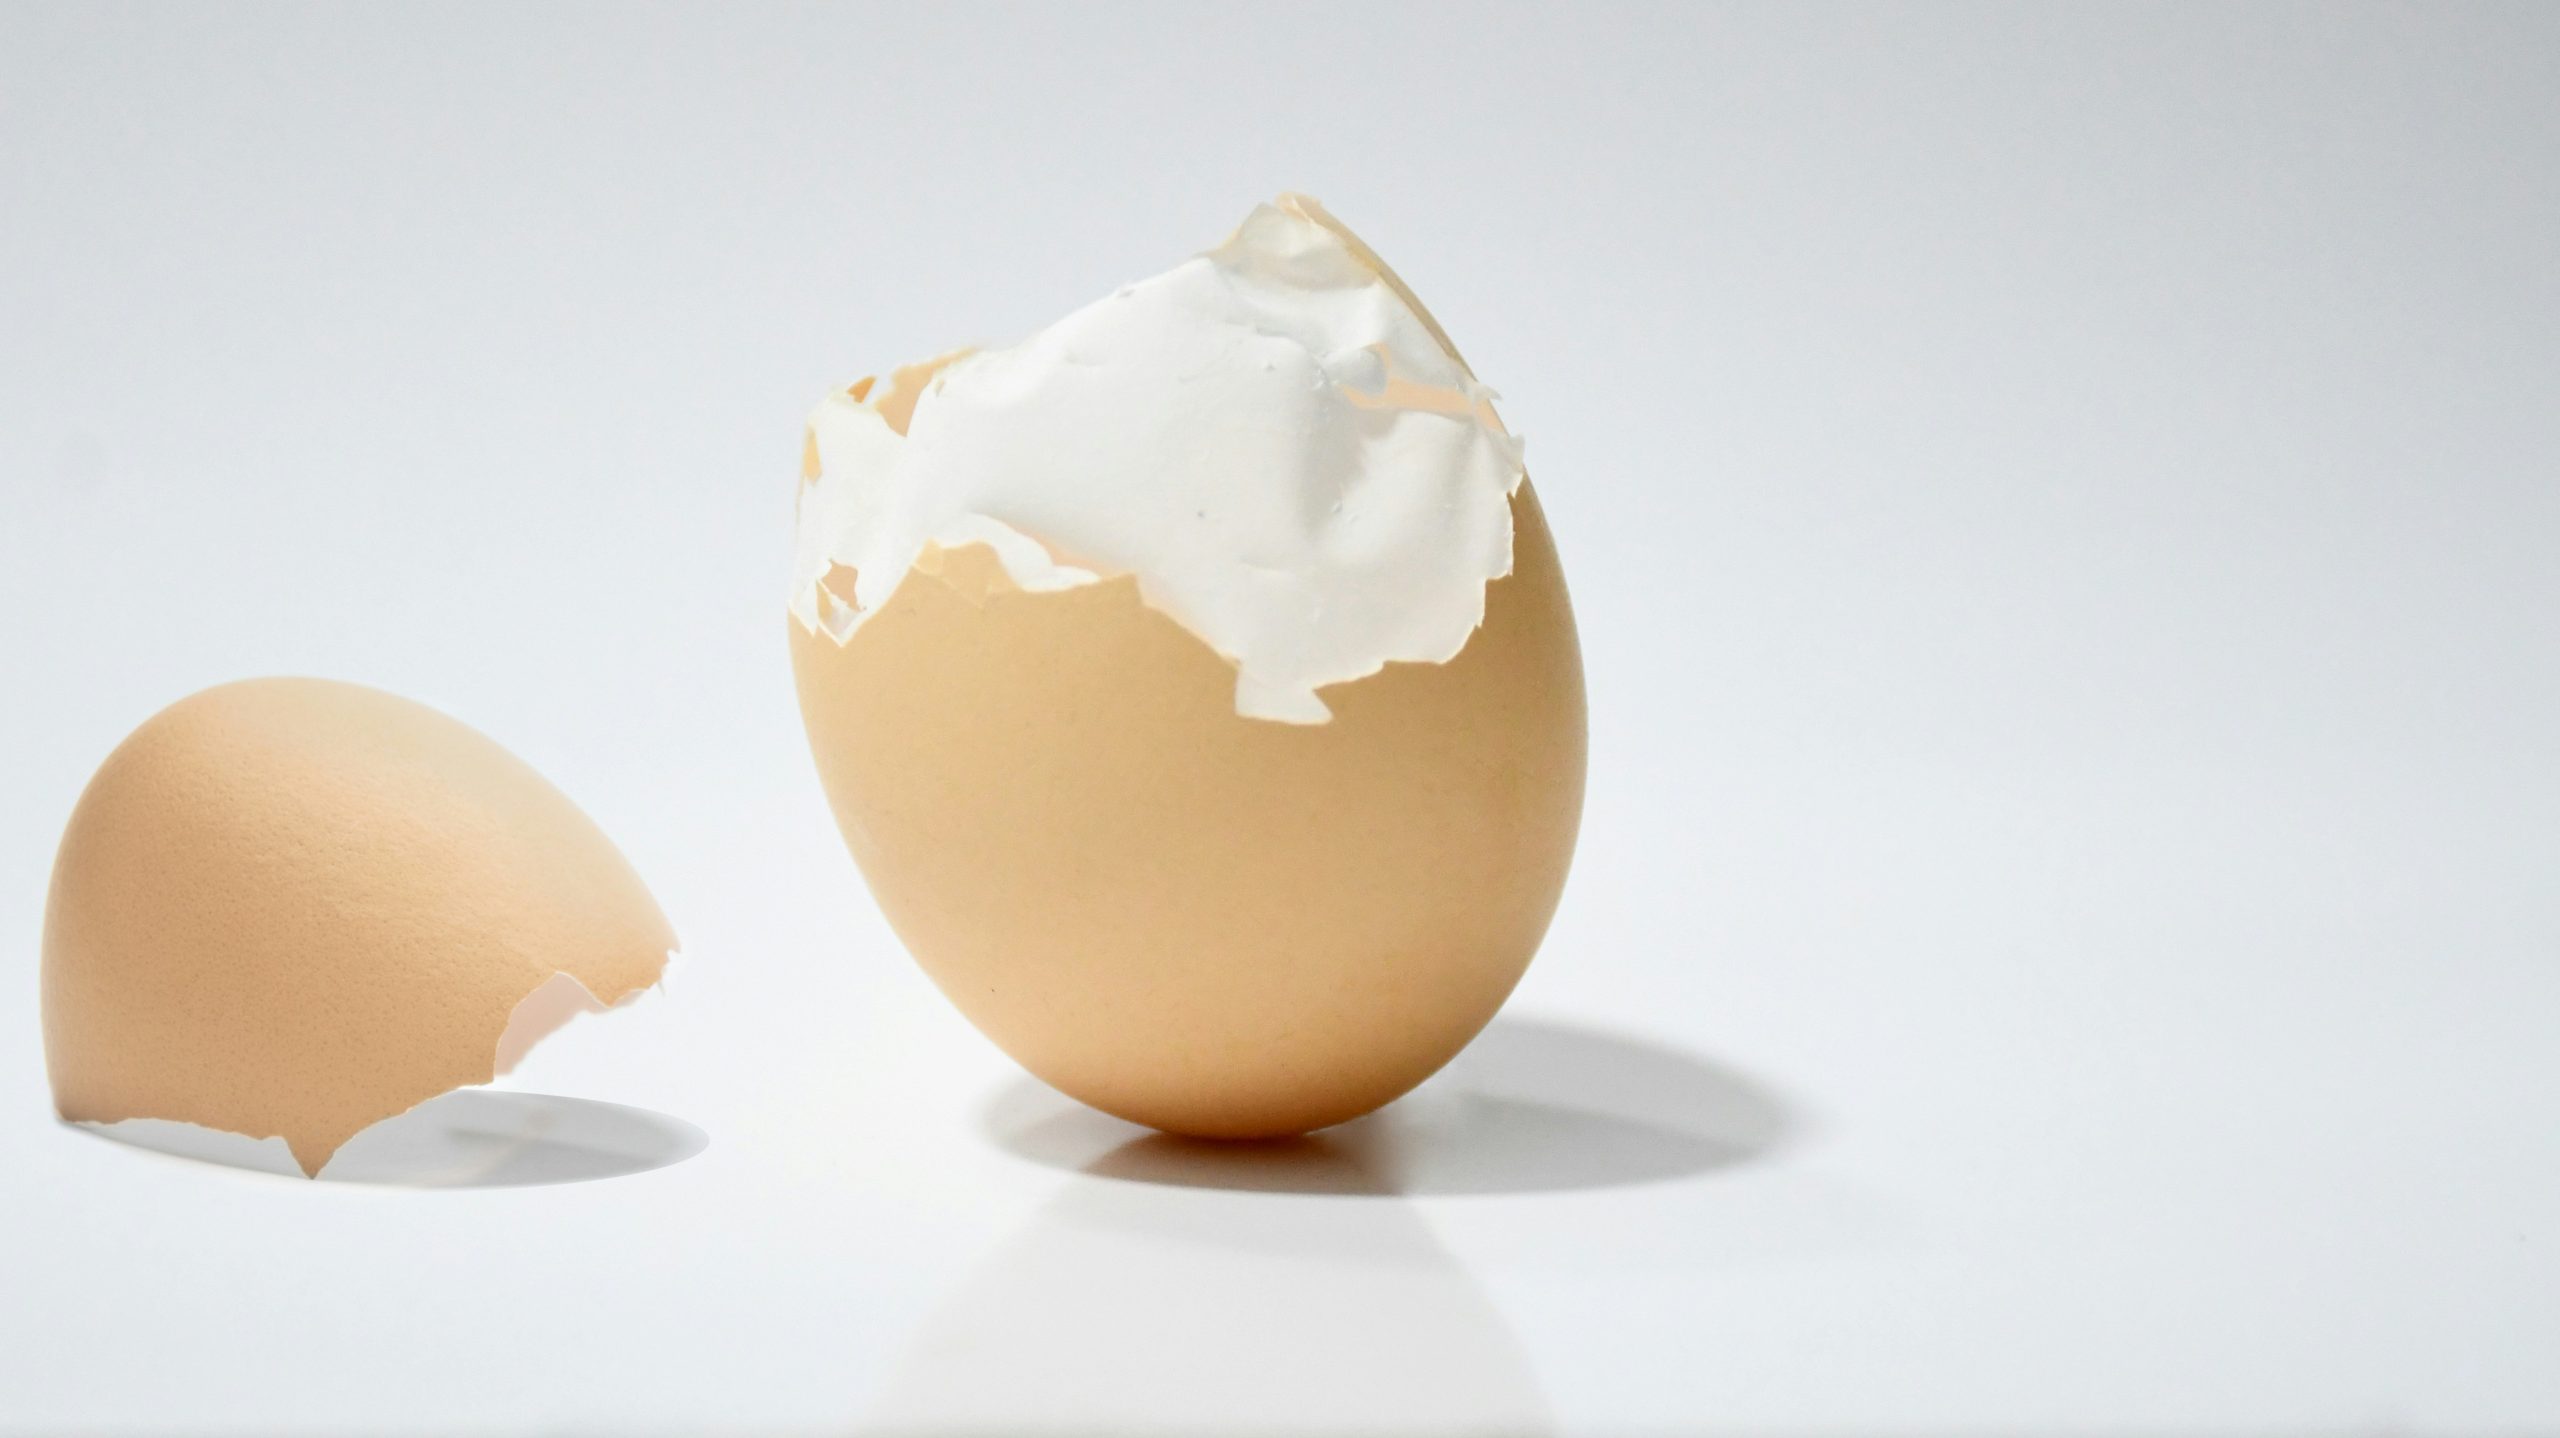
How to Properly Boil Eggs So They Don’t Peel Off With the Shell
How to boil eggs properly for easy peeling has been a very big challenge to many people. There is nothing more frustrating than boiling a few eggs, allowing them to cool, and then discovering that the shells refuse to come off cleanly. Instead of getting a smooth, perfectly shaped boiled egg, you end up removing chunks of the egg white along with the shell. Before you know it, what should have been a simple breakfast ingredient looks rough, uneven and far from appetizing.
In addition to that, reasonable portion of the egg gets wasted while on the process of removing the shells. It is actually frustrating, most especially when one is somehow in a haste.
If this sounds familiar, you are certainly not alone. Peeling boiled eggs is a common kitchen struggle, especially when preparing eggs for salads, sandwiches, breakfast or special occasions.
The good news? Getting perfectly boiled eggs that peel easily does not require expensive kitchen equipment, complicated techniques or special ingredients. A few simple adjustments to how you cook, cool and peel your eggs can make a remarkable difference.
The secret is understanding why eggs stick to their shells in the first place and knowing how to prevent it from happening.
Whether you are preparing eggs for breakfast, making egg salad or cooking a large batch for your family, this guide will show you how to properly boil eggs so that they don’t peel off while removing the shells.
Let’s get started!
Why Do Boiled Eggs Stick to Their Shells?
Before learning the best way to boil eggs, it helps to understand why the egg white sometimes sticks stubbornly to the shell.
Interestingly, the problem is not always caused by poor cooking technique. Several factors influence how easily a boiled egg separates from its shell.
Here are the most common reasons.
1. Using Very Fresh Eggs
One of the biggest reasons boiled eggs are difficult to peel is that they are too fresh.
Fresh eggs have a relatively low pH, which encourages the egg white to cling more tightly to the thin membrane underneath the shell. As eggs age during proper refrigerated storage, carbon dioxide gradually escapes through their porous shells. This raises the pH of the egg white and can make peeling easier.
That is why eggs that have been stored for several days may peel more easily than eggs collected directly from a chicken.
However, this does not mean you should use spoiled or expired eggs. Always use eggs that have been stored properly and remain safe to eat.
2. Not Cooling the Eggs Immediately After Cooking
Another common mistake is removing boiled eggs from hot water and allowing them to cool slowly at room temperature.
When eggs remain hot, the cooking process continues, potentially making the whites firmer than necessary. This can also contribute to a less pleasant peeling experience.
An ice-water bath helps stop the cooking process quickly. The rapid cooling also encourages the egg white to contract slightly, helping it separate from the inner shell membrane.
This is one of the simplest ways to improve your chances of getting cleanly peeled eggs.
3. Starting With Cold Water Instead of Boiling Water
The method you use to heat your eggs can influence their final texture and how easily they peel.
Some traditional recipes recommend placing eggs in a pot of cold water before heating everything together. Although this method can work, starting eggs in already-boiling water can produce more consistent peeling results.
The sudden exposure to hot water changes how the egg white sets and can help reduce the sticking associated with some cold-start methods.
You should, however, lower the eggs carefully to prevent cracking.
4. Overcooking the Eggs
Leaving eggs in boiling water for too long can produce rubbery whites and dry, crumbly yolks.
Overcooking can also create an unattractive greenish-grey ring around the yolk. This happens when compounds in the egg white react with iron in the yolk during prolonged heating.
Although the discoloration is generally harmless, it is a sign that your cooking technique needs adjustment.
The solution is simple: use a timer and remove the eggs as soon as they reach your preferred level of doneness.
5. Peeling the Eggs the Wrong Way
Sometimes, the eggs are cooked perfectly, but the peeling technique causes the damage.
Pulling large pieces of shell away forcefully can remove sections of egg white, especially when the membrane remains attached.
The trick is to crack the shell gently, loosen it around the entire egg and begin peeling from the wider end.
Understanding these mistakes is the first step towards preparing beautiful, smooth boiled eggs every time.
How to Properly Boil Egg So That It Doesn’t Peel Off While Removing the Shells
Now that you understand why eggs sometimes stick to their shells, let’s look at the method that can help you avoid the problem.
This straightforward technique combines careful cooking, controlled timing and rapid cooling to produce eggs that are easier to peel.
Ingredients and Kitchen Equipment You Need
You do not need anything complicated. Most of the items are probably already available in your kitchen.
Ingredients:
- 4–6 eggs (preferably several days old rather than freshly laid).
- Enough water to cover the eggs completely.
- A bowl of cold water.
- Ice cubes.
Kitchen equipment:
- A medium-sized cooking pot.
- A slotted spoon.
- A kitchen timer.
- A large bowl for the ice bath.
Once everything is ready, you can begin.
Step 1: Choose the Right Eggs
Start by selecting eggs that are still fresh enough to eat but are not extremely fresh from the farm.
As mentioned earlier, slightly older eggs generally have a higher egg-white pH, making them easier to peel after cooking.
If you regularly buy eggs from the market or supermarket, you can simply use eggs that have been stored properly for a few days.
Before cooking, inspect each egg for cracks. Avoid using eggs with damaged shells because bacteria can enter through the openings.
Step 2: Bring the Water to a Full Boil
Fill your cooking pot with enough water to cover the eggs completely.
Place the pot on your stove and allow the water to reach a steady, rolling boil.
Make sure there is enough water to keep the eggs submerged throughout cooking.
Avoid overcrowding the pot. If too many eggs are squeezed together, they may knock against one another and crack during cooking.
Step 3: Carefully Lower the Eggs Into the Boiling Water
Once the water is boiling, gently lower the eggs into the pot using a slotted spoon.
Do not throw them into the water or drop them from a height. The sudden impact can crack the shells, allowing egg white to leak into the cooking water.
If you are cooking several eggs, add them gradually and carefully.
Maintain a gentle boil rather than allowing the water to bubble aggressively.
Step 4: Cook the Eggs According to Your Preferred Texture
Cooking time is important because it determines whether your eggs will have soft, creamy or fully cooked yolks.
For easy-to-peel hard-boiled eggs, a cooking time of approximately 10–12 minutes is a useful starting point, depending on egg size, starting temperature and cooking conditions.
Here is a simple timing guide:
| Cooking time | Egg texture | Best for |
|---|---|---|
| 4–5 minutes | Very soft yolk | Soft breakfast eggs |
| 6–7 minutes | Creamy, slightly runny yolk | Toast and breakfast bowls |
| 8–9 minutes | Mostly set yolk | Light meals |
| 10–12 minutes | Fully cooked yolk | Egg salad, sandwiches and meal preparation |
These times are approximate and assume eggs are placed into boiling water. Adjust slightly depending on their size and your preferred consistency.
If you want completely firm yolks that are suitable for slicing, sandwiches or salads, aim for the 10–12-minute range.
Remember to use a timer rather than relying on guesswork.
Step 5: Prepare an Ice Bath While the Eggs Cook
While waiting for the eggs to finish cooking, prepare a bowl of cold water with several ice cubes.
This step is particularly important because you want the water to be sufficiently cold to cool the eggs quickly.
Keep the bowl close to your cooking area so you can transfer the eggs immediately when the timer goes off.
The ice bath is not simply an optional finishing touch. It helps prevent overcooking and makes the peeling process easier.
Step 6: Transfer the Eggs Immediately Into the Ice Bath
As soon as the cooking time is complete, remove the eggs from the hot water using a slotted spoon.
Transfer them directly into your prepared ice bath.
Allow the eggs to sit for approximately 10–15 minutes, or until they are thoroughly cooled.
Do not rush this process. Cooling the eggs properly gives the whites time to firm up and helps create a better separation between the egg and its shell.
Food writer and cooking experts at Bon Appétit also recommend immediately transferring cooked eggs into an ice bath as part of their easy-peel hard-boiled egg technique.
The combination of carefully timed cooking and rapid cooling is one of the most useful habits to develop when preparing boiled eggs.
How to Peel Boiled Eggs Easily Without Removing the Egg White
Cooking your eggs correctly is only half the job. The next challenge is removing the shells without damaging the smooth, tender egg whites underneath.
If you have ever peeled an egg only to find that half of its white surface came off with the shell, you know how disappointing that can be.
Fortunately, the right peeling technique makes a noticeable difference.
Follow these simple steps to remove boiled egg shells without tearing the egg.
Step 1: Tap the Egg Gently on a Hard Surface
Remove your cooled egg from the ice bath and place it on a clean kitchen counter or chopping board.
Gently tap the wider end of the egg against the surface until the shell begins to crack.
Avoid hitting it too hard because you want to break the shell without crushing the egg underneath.
Step 2: Roll the Egg Gently to Create Small Cracks
Hold the egg between your palms and roll it gently across the countertop.
This creates several small cracks around the shell, making it easier to remove in sections.
Your intention is to loosen the shell without damaging the egg white.
You can also gently tap the sides of the egg with the back of a spoon.
Step 3: Start Peeling From the Wider End
This is one of the most useful tricks for peeling boiled eggs.
The wider end usually contains a small air pocket between the shell membranes.
Starting from this area gives your fingers an easier place to get underneath the shell.
Use your thumb to lift a small section of the shell and carefully work your way around the egg.
Step 4: Remove the Thin Membrane Along With the Shell
Beneath the hard outer shell is a thin membrane that can cling tightly to the egg white.
If you remove only the outer shell without loosening this membrane, pieces of egg white may come off with it.
Try to lift the shell and membrane together rather than separating them forcefully.
Take your time, especially if you are peeling freshly cooked eggs.
Step 5: Peel Under Running Water
If the shell remains stubborn, hold the egg under a gentle stream of cool running water.
Alternatively, place the egg inside a bowl of clean water while peeling.
The water can help work its way underneath the loosened shell and membrane, making removal easier.
According to the peeling guidance from Food Network, using cold water while peeling can help separate stubborn shell fragments from the egg white.
Step 6: Rinse and Inspect the Egg
Once the shell has been removed, rinse the egg gently to wash away any small shell fragments.
Place it on a clean plate or chopping board.
At this stage, your egg should already have a smooth surface without large missing pieces of egg white.
If you are preparing several eggs, repeat the process carefully rather than rushing through them.
Easy Tricks to Make Boiled Eggs Peel Faster
Sometimes, even when you follow the correct boiling method, an egg may still refuse to peel neatly.
This can happen because of its freshness, storage conditions or the way the membrane has attached to the egg white.
Here are additional tricks that can make the process easier.
1. Use Slightly Older Eggs
If you have a choice between very fresh eggs and eggs that have been properly refrigerated for several days, consider using the slightly older ones.
As eggs age, their internal chemistry changes, particularly the pH of the egg white.
This can reduce how tightly the white sticks to the inner membrane.
However, older does not mean spoiled. Always check the eggs and respect their storage conditions.
2. Give the Eggs Enough Time in Ice Water
Do not remove your eggs from the ice bath after just a few seconds.
Allowing them to cool completely for approximately 10–15 minutes helps stop the cooking process and improves handling during peeling.
This is especially useful when preparing a large batch.
3. Peel the Eggs While They Are Still Slightly Damp
A completely dry shell can sometimes be more difficult to remove in stubborn areas.
Peeling the egg while it is still slightly wet or under running water can make the process easier.
4. Remove the Shell in Small Sections
Avoid trying to remove the entire shell in one large piece.
Instead, work around the egg, removing small sections while keeping the membrane attached to the shell.
This gives you better control and reduces the chances of tearing the egg white.
5. Try Steaming Instead of Boiling
If you regularly struggle with peeling boiled eggs, steaming is another cooking method worth trying.
Place the eggs in a steamer basket above boiling water, cover the pot and allow the steam to cook them.
Steaming can produce consistently cooked eggs and may improve peelability.
Recent cooking-method comparisons have also found steaming to be a particularly effective approach for producing eggs that peel cleanly.
The important thing is to use a consistent cooking time and cool the eggs immediately afterwards.
Should You Add Salt, Vinegar or Baking Soda When Boiling Eggs?
You may have heard people recommend adding salt, vinegar or baking soda to boiling water to make eggs easier to peel.
These kitchen tricks have been shared for years, but do they actually work?
Let’s look at what each ingredient does.
1. Does Adding Salt Make Boiled Eggs Easier to Peel?
Salt is commonly added to boiling water when preparing eggs.
Some people believe it helps loosen the shell, while others use it because they think it prevents egg whites from leaking if a shell cracks.
However, its effect on peeling is not guaranteed.
Salt may help under certain conditions, but it is not a substitute for proper cooking and cooling.
My recommendation: You can add a small amount of salt if you prefer, but don’t depend on it to make your eggs peel perfectly.
2. Does Vinegar Help Boiled Eggs Peel Easily?
Vinegar is another popular ingredient used when boiling eggs.
Because vinegar is acidic, it can react with the calcium carbonate in eggshells.
This explains why some cooks believe adding vinegar makes shell removal easier.
However, vinegar does not consistently prevent the egg white from sticking to the inner membrane.
It is more useful when dealing with a cracked egg because it can encourage leaked egg white to coagulate more quickly.
My recommendation: Vinegar is optional. You do not need it to prepare easy-to-peel eggs.
3. Does Baking Soda Make Eggs Easier to Peel?
Baking soda is slightly different because it is alkaline.
The theory is that it increases the pH of the cooking environment and may help loosen the connection between the egg white and its membrane.
Although this method is popular, the results are not consistent enough to make it essential.
Adding too much baking soda may also affect the flavour of your eggs.
My recommendation: Focus on the age of your eggs, cooking temperature and ice bath before experimenting with baking soda.
A food science explanation published by the University of Southern Queensland explores these popular peeling methods and explains why different egg-peeling techniqueswork.
The important lesson is that no kitchen ingredient can replace a good cooking technique.
Boiling vs Steaming: Which Method Makes Eggs Easier to Peel?
If you have always boiled eggs in water, you might be surprised to discover that steaming is another effective option.
Both methods can produce delicious hard-boiled eggs, but they differ in how heat reaches the eggs.
Let’s compare them.
|
Feature |
Boiling method |
Steaming method |
|---|---|---|
|
Cooking process |
Eggs are submerged in hot water |
Eggs sit above boiling water |
|
Cooking consistency |
Good when carefully controlled |
Often very consistent |
|
Risk of cracking |
Eggs may knock against the pot |
Less movement during cooking |
|
Peeling results |
Generally good with proper technique |
Can be excellent |
|
Equipment |
Cooking pot |
Pot and steamer basket |
|
Convenience |
Easy and familiar |
Requires a steamer setup |
Which Method Should You Choose?
If you want a simple method using ordinary kitchen equipment, boiling is perfectly fine.
However, if you frequently prepare eggs in large quantities or struggle with stubborn shells, steaming is worth experimenting with.
Regardless of the method you choose, remember these three important steps:
-
Use eggs that are not extremely fresh.
-
Avoid overcooking.
-
Transfer cooked eggs into an ice bath immediately.
These habits matter more than relying on one particular kitchen trick.
Common Mistakes to Avoid When Boiling Eggs
Sometimes, the problem is not the recipe but a few small mistakes made during preparation.
If you want consistently smooth, easy-to-peel eggs, avoid the following:
1. Dropping Eggs Into Boiling Water
Throwing eggs into hot water can cause the shells to crack.
Always lower them gently with a spoon.
2. Overcrowding the Cooking Pot
Putting too many eggs into a small pot increases the chances of them knocking against one another.
Cook them in batches if necessary.
3. Ignoring Cooking Time
Leaving eggs in boiling water longer than necessary can make the whites rubbery and the yolks dry.
Use a timer to maintain consistency.
4. Skipping the Ice Bath
This is one of the biggest mistakes.
Without rapid cooling, the eggs continue cooking from their internal heat.
Always prepare your cold-water bath before the eggs finish cooking.
5. Peeling the Eggs Immediately While They Are Very Hot
Hot eggs are more difficult to handle, and their whites may still be delicate.
Allow them to cool sufficiently before removing the shells.
6. Forcing the Shell Off
If the shell is sticking, do not pull aggressively.
Instead, loosen the membrane gently and use running water to help remove stubborn sections.
7. Using Extremely Fresh Eggs for a Large Batch
Very fresh eggs are often more difficult to peel.
If you are preparing eggs for an event, family gathering or meal preparation, choose properly stored eggs that have been around for several days.
How to Store Boiled Eggs Properly
Preparing boiled eggs in advance can save time, especially when you have a busy schedule.
However, proper storage is essential to maintain their quality and safety.
Here are some helpful storage tips.
Storing Unpeeled Boiled Eggs
If you do not need the eggs immediately, keeping them in their shells is a convenient option.
-
Allow the eggs to cool promptly after cooking.
-
Refrigerate them in a clean, covered container.
-
Keep your refrigerator at or below 4°C (40°F).
-
Use hard-boiled eggs within seven days when properly refrigerated.
Storing Peeled Boiled Eggs
Peeled eggs require a little more attention because their protective shells have been removed.
-
Place peeled eggs in a clean, airtight container.
-
Refrigerate promptly.
-
Keep them separate from raw foods.
-
Consume them within the recommended storage period.
For safety, do not leave cooked eggs at room temperature for more than two hours, or more than one hour when temperatures exceed 32°C (90°F).
Also, remember that freezing whole hard-boiled eggs is generally not recommended because the whites become unpleasantly rubbery.
Frequently Asked Questions About Boiling and Peeling Eggs
Here are answers to some common questions people ask when preparing boiled eggs.
1. Why Does My Egg White Come Off When I Remove the Shell?
This usually happens because the egg white has attached itself to the thin membrane beneath the shell.
Very fresh eggs are particularly prone to this problem because of their lower egg-white pH.
To prevent it, use slightly older eggs, cook them in boiling water and cool them immediately in an ice bath.
2. How Long Should I Boil Eggs So They Peel Easily?
For fully cooked hard-boiled eggs, approximately 10–12 minutes is a good starting point when placing large eggs into boiling water.
However, cooking time can vary depending on egg size and temperature.
The most important thing is to avoid overcooking and cool the eggs immediately afterwards.
3. Should I Put Eggs in Cold or Hot Water Before Boiling?
For the method described in this article, bring the water to a boil first before carefully lowering the eggs into the pot.
This approach can produce more consistent peeling results than gradually heating the eggs from cold water.
However, cold-start methods can also produce good eggs when properly timed.
4. Does Putting Boiled Eggs in Cold Water Make Them Easier to Peel?
Yes, rapid cooling in an ice bath can help.
It stops the cooking process, prevents the eggs from becoming overcooked and helps the egg white separate slightly from the shell membrane.
Allow the eggs to cool for approximately 10–15 minutes.
5. Is It Better to Peel Boiled Eggs When Hot or Cold?
It is generally easier to peel hard-boiled eggs after they have cooled sufficiently.
Cold or slightly warm eggs are easier to handle, and the egg whites are firmer.
For best results, peel them after an ice bath.
6. Can I Use Freshly Laid Eggs for Hard-Boiling?
Yes, you can boil freshly laid eggs, but they may be more difficult to peel.
If you have freshly collected eggs, steaming or using the boiling-water method followed by rapid cooling may help.
However, slightly older, properly stored eggs are generally easier to peel.
7. Why Do My Boiled Eggs Have a Green Ring Around the Yolk?
A greenish-grey ring usually develops when eggs are overcooked.
It results from a chemical reaction between sulphur compounds in the egg white and iron in the yolk.
Although it is generally harmless, it can affect the appearance and texture of the egg.
Reducing the cooking time and cooling the eggs immediately can help prevent it.
8. Does Adding Baking Soda to Boiling Water Really Work?
Baking soda may influence the pH around the egg and potentially improve peeling, but the results are not guaranteed.
You can prepare easy-to-peel eggs without adding baking soda.
Proper cooking and cooling are more important.
9. How Can I Peel Many Boiled Eggs Quickly?
If you are preparing several eggs, try this approach:
-
Place the cooled eggs on a clean chopping board.
-
Gently roll each egg to create small cracks.
-
Start peeling from the wider end.
-
Use a bowl of clean water to help loosen stubborn shells.
-
Place the peeled eggs in a clean container.
Working with several eggs this way can save time without damaging them.
10. How Long Can I Keep Hard-Boiled Eggs in the Refrigerator?
Hard-boiled eggs can generally be stored in the refrigerator for up to seven days, whether peeled or unpeeled, provided they are refrigerated promptly and stored properly.
Keep them at or below 4°C (40°F).
Final Thoughts: The Secret to Perfectly Boiled Eggs That Peel Easily
Boiling eggs should be one of the simplest kitchen tasks, but removing their shells without damaging the whites can sometimes feel like a completely different challenge.
The good news is that you do not need complicated recipes or expensive ingredients to get it right.
The secret to preparing perfectly boiled eggs that peel easily comes down to a few simple habits.
Start with properly stored eggs that are several days old, bring your water to a boil before gently adding the eggs, cook them for the appropriate amount of time and transfer them immediately into an ice bath.
When it is time to peel, gently crack the shell, roll the egg to loosen it and begin removing the shell from the wider end. If necessary, use a little running water to help separate stubborn pieces.
Remember that even the best method cannot guarantee perfectly clean peeling every single time. Egg freshness, storage conditions and natural differences between eggs can influence the result.
However, following these steps will significantly improve your chances of getting smooth, attractive boiled eggs without losing chunks of the egg white.
So, the next time you prepare eggs for breakfast, sandwiches, salads or a family meal, put these techniques into practice.
With a little patience and the right approach, you can say goodbye to messy peeling and enjoy beautifully cooked eggs that look just as good as they taste.
You may also like to read our related article; How to Observe a Proper Goat Birth Care.